Making of: the table of contents

First I reminded myself of all the topic headers and subheaders, their categories and the page numbers. This way I know how much space left there is on the page. I decided to go with “Contents” as the title of this page.


02.           Editor’s Letter


05.          The Spring Reset 

                Reinventing your wardrobe


11.            Accessories that Spark Joy


17.            Dressed in Emotion

                The language of colours


29.            Mini Escapes

                 Recharge your soul


37.            Solo Travel Confidence Guide


44.           Travel with meaning

                The power of being in nature


53.            Small Daily Rituals

                 That change everything


57.             Reclaiming Presence 

                  In a Screen-Saturated World


64.            The Art of Doing Nothing

                  Rest without guilt


70.             Stories of Kindness

                 From around the world


75.             Wildlife Comebacks


For the table of contents photo, I had 2 options, either the other front cover option, because it was very in theme and I wanted it to appear somewhere inside the magazine, or the high-angle grass photo. To make the process easier, I arranged everything on a two-page format. That way I could see how the pages would look like together before exporting the single pages separately.

I liked both options, the second one seems to fit better inside the space, but in the first one the photo matches the design better. However in both the text looks a bit crowded by the surrounding photos. I did a few more design with the second photo to see how they would look.

The first one I like the title over the photo but not how the text is so close to the edge of the page. In the second the colours match the photo but I’m not that convinced about it combined with the editor’s letter page. 

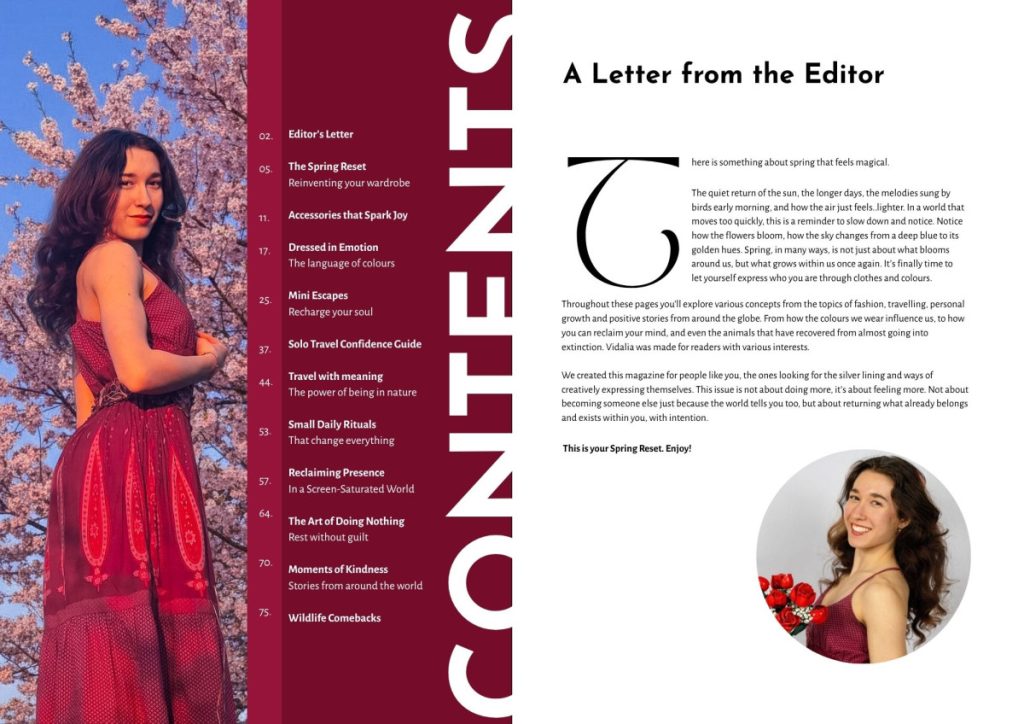
I also tries out a 2-page design, which honestly, just design wise I liked the most, however I wasn’t really sure what to add on the second page so that it doesn’t look empty. In the end, I decided to divide them on sections, which would make reading easier as well. Now I just need to add the page numbers in a way that doesn’t complicate the design.

And this is the final design of the content page: (without the purple lines obviously, those are just guidelines as I worked on the design, and which I used to change the pages from landscape A3 to portrait A4 in order to create the flipbook).

Leave a Comment

Your email address will not be published. Required fields are marked *